
Greenify is a terrific app that allows you to put battery-hogging apps into "hibernation." Effectively closing the problematic apps and preventing them from running until you explicitly launch one of them, hibernation is a great way to save battery life while you're not using your phone.
Up until now, though, using this feature on a non-rooted device was a very clunky process, to say the least. You had to manually force-close each app for it to work, and that definitely wasn't what you would consider ideal.
But developer Oasis Feng has somehow found a way to do all of this for you automatically with Greenify's latest update—even without Superuser access. So if you've been wanting to use Greenify on your non-rooted device, the whole process has never been easier than it is now.
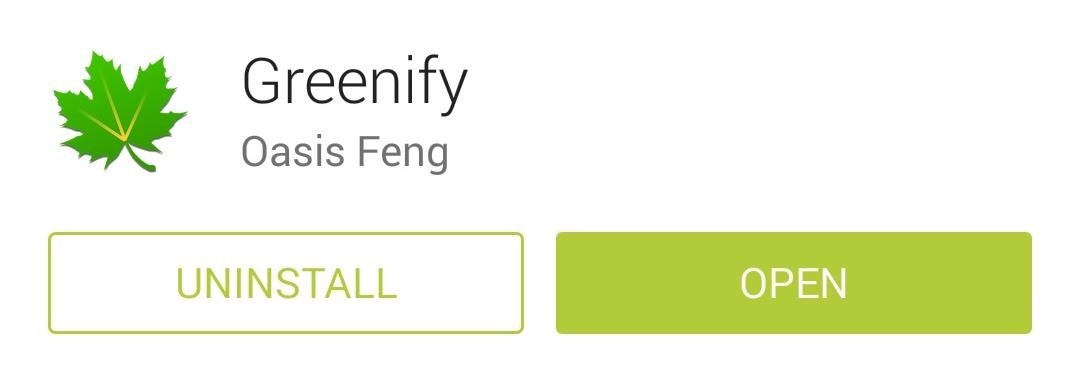
Step 1: Install Greenify
A free version of Greenify can be installed from the Google Play Store. There's also a donate version of Greenify for $2.99, which includes some experimental root-only features that the free version doesn't have.
Step 2: Select Apps to Hibernate
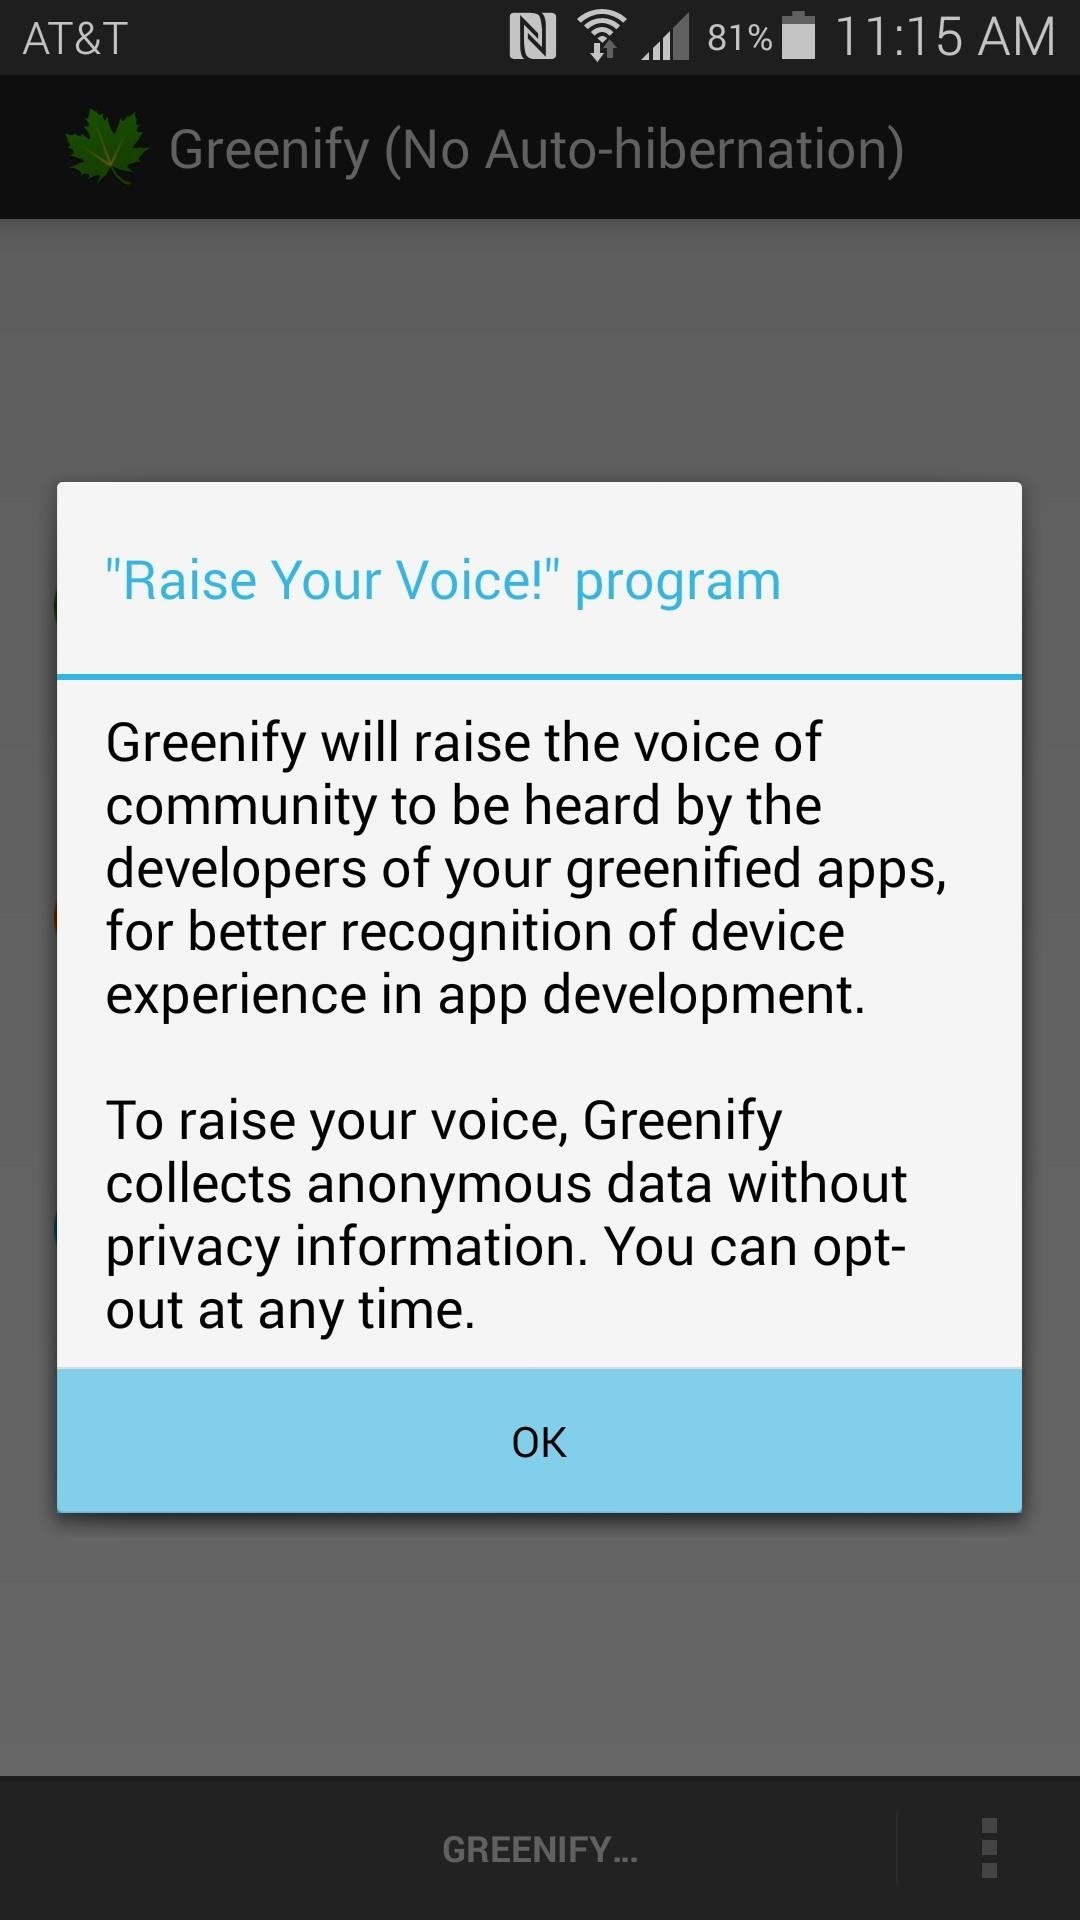
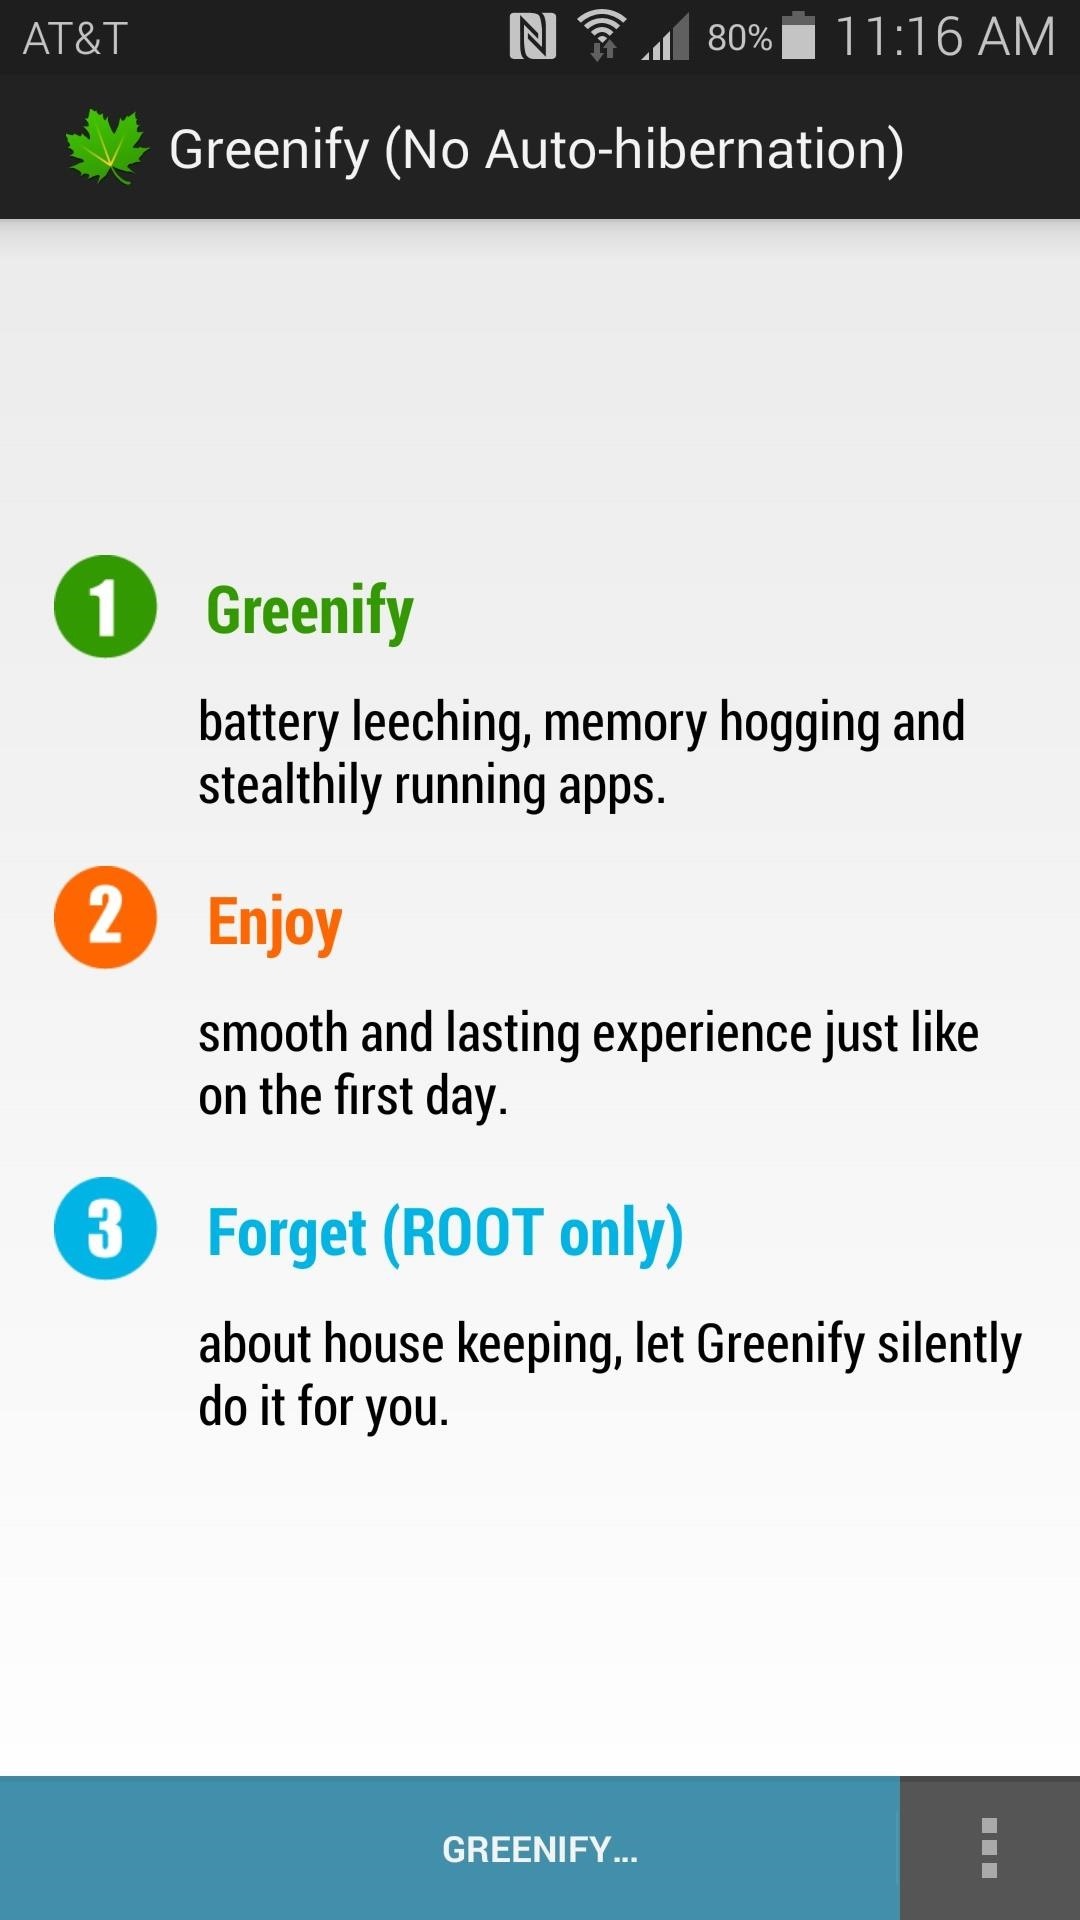
Before you set up auto-hibernation, you should pick out the apps that you would like to hibernate. Start by closing out any messages that Greenify gives you on first-run, then press the Greenify... button at the bottom of the screen.
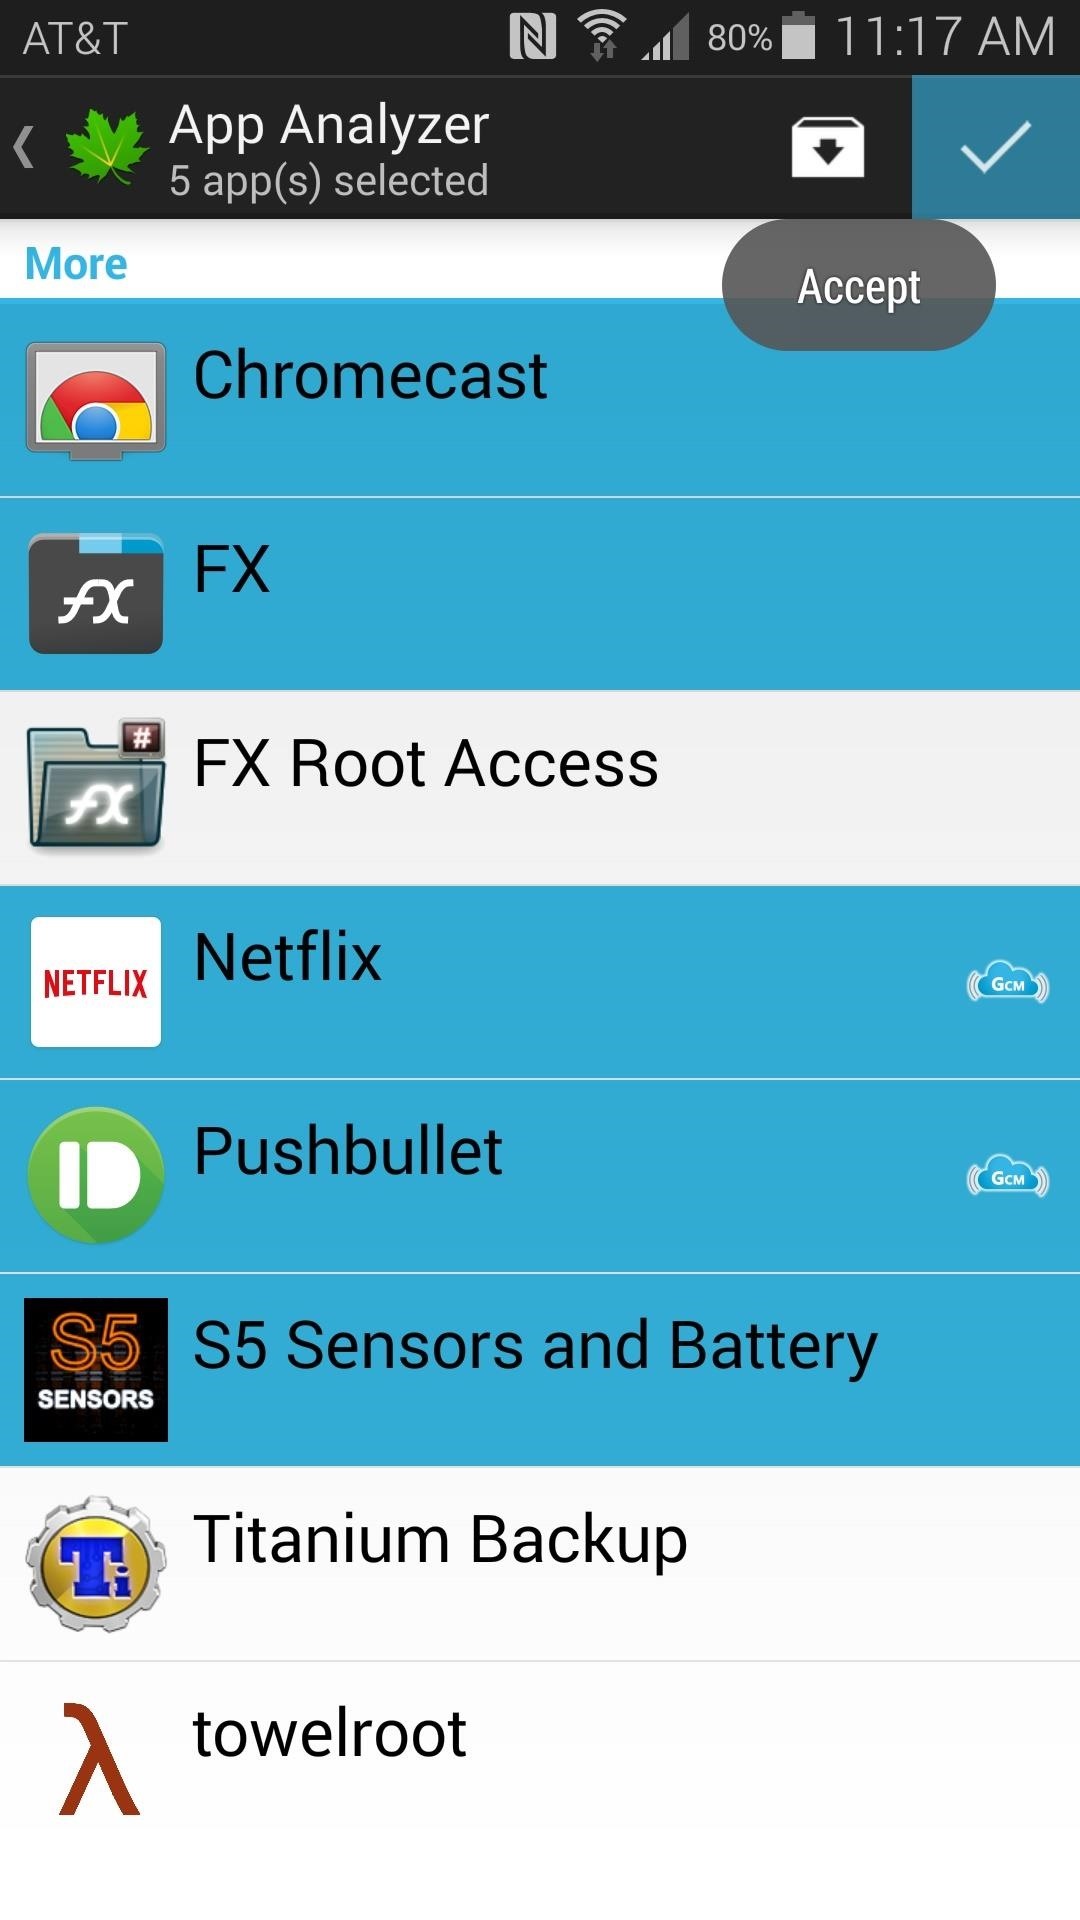
The next screen lists all of the apps that are either currently running in the background, or can start up without your input. These are the apps that have the most impact on your battery life while the screen is turned off, so they are the best candidates for hibernation.
Select any apps that you would like to put into hibernation, keeping in mind that these apps may not be able to post notifications when you're not using them. Any apps with the Cloud logo to the right of their entry, however, will still be able to post notifications, as these apps use the Google Cloud Messaging platform.
With all of your apps selected, tap the Check icon at the top of the screen.

Step 3: Enable the Greenify Accessibility Service
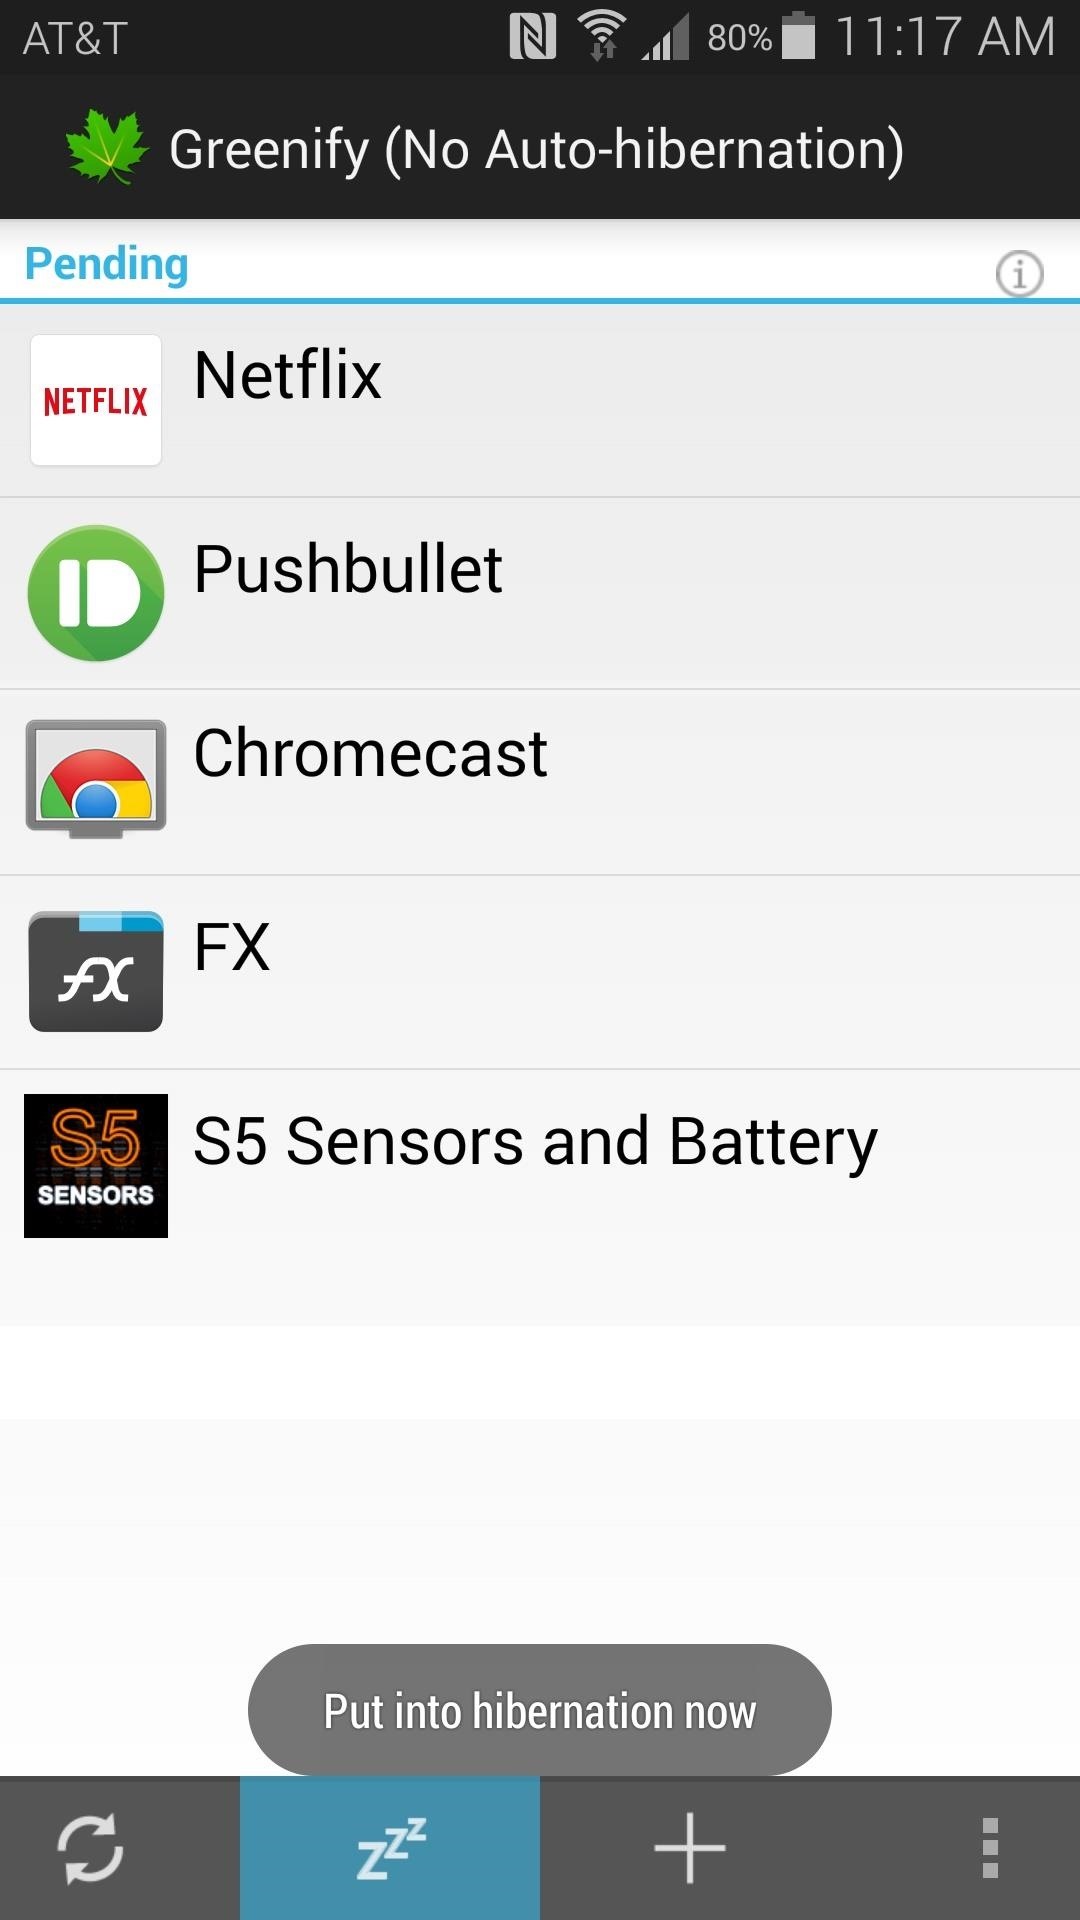
From the next screen, tap the Zzz button, then Greenify will take you to the App Info page for the first app you selected.

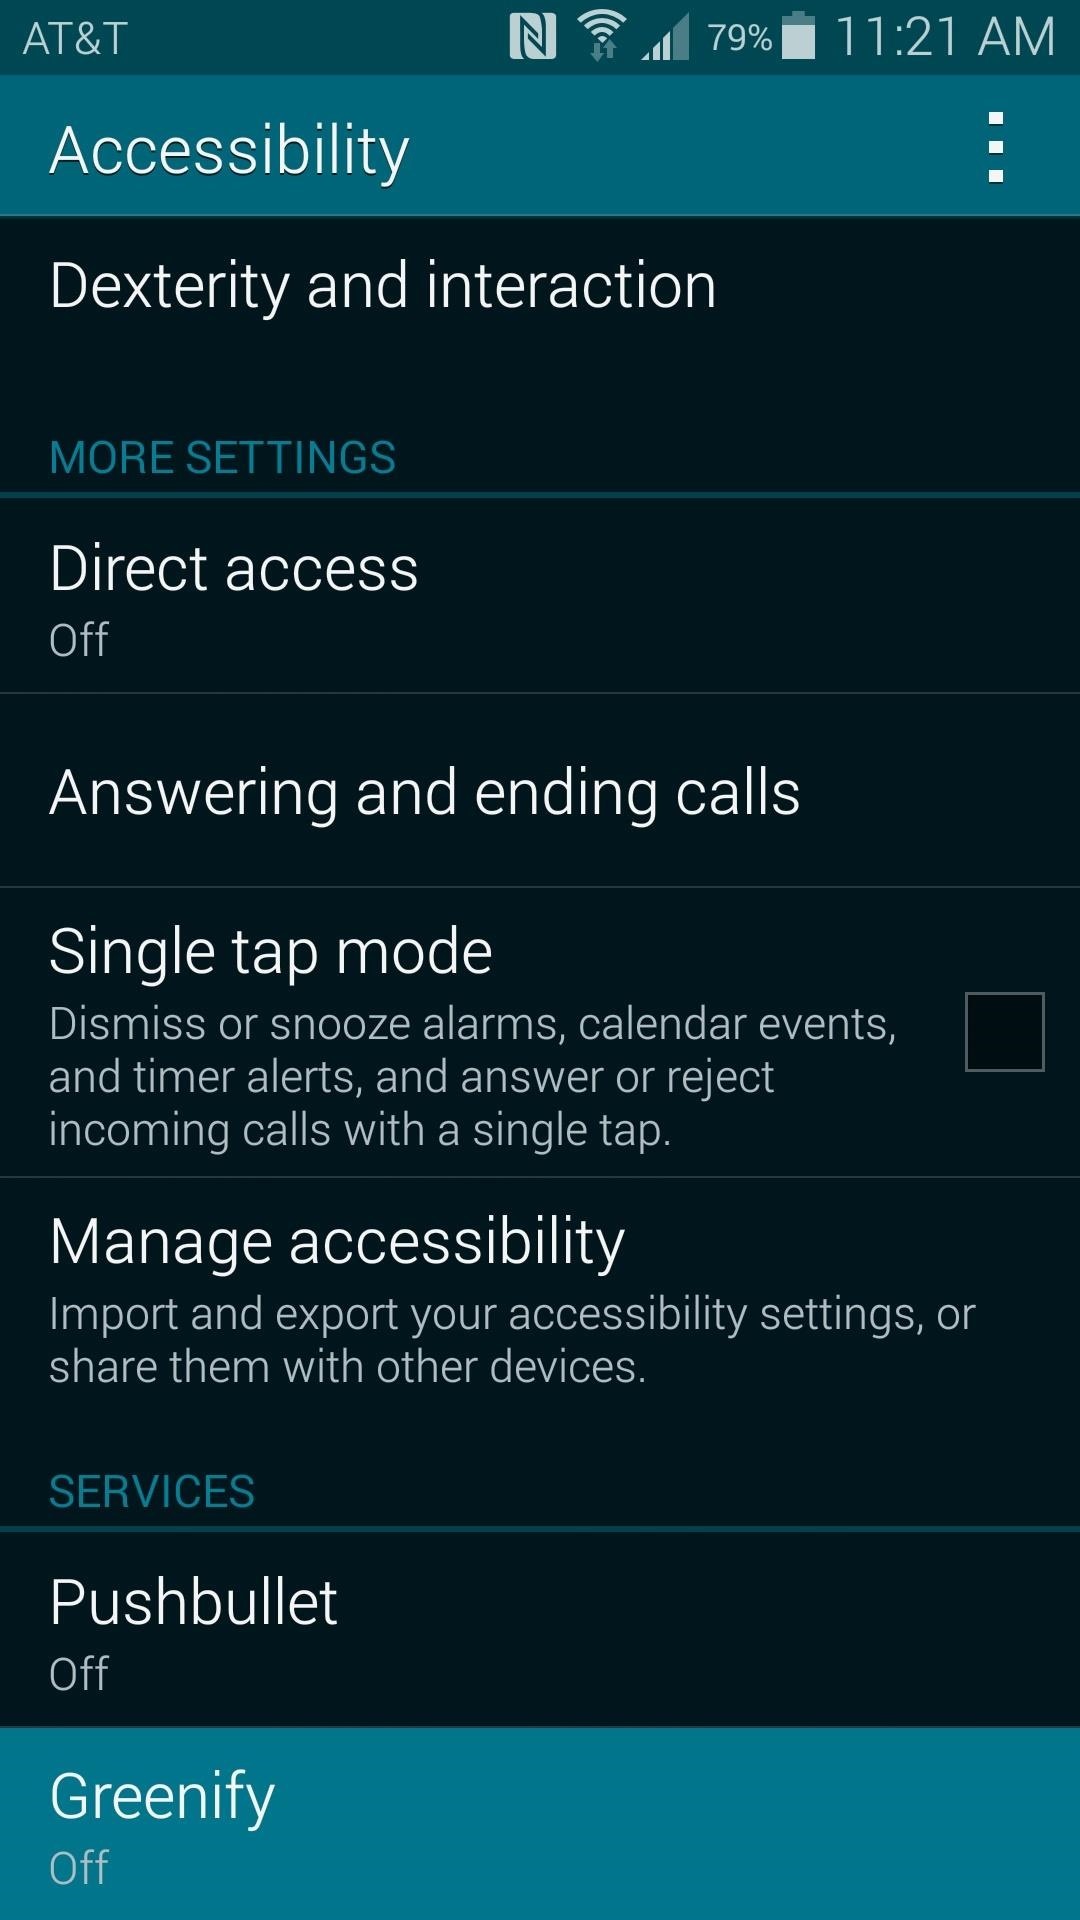
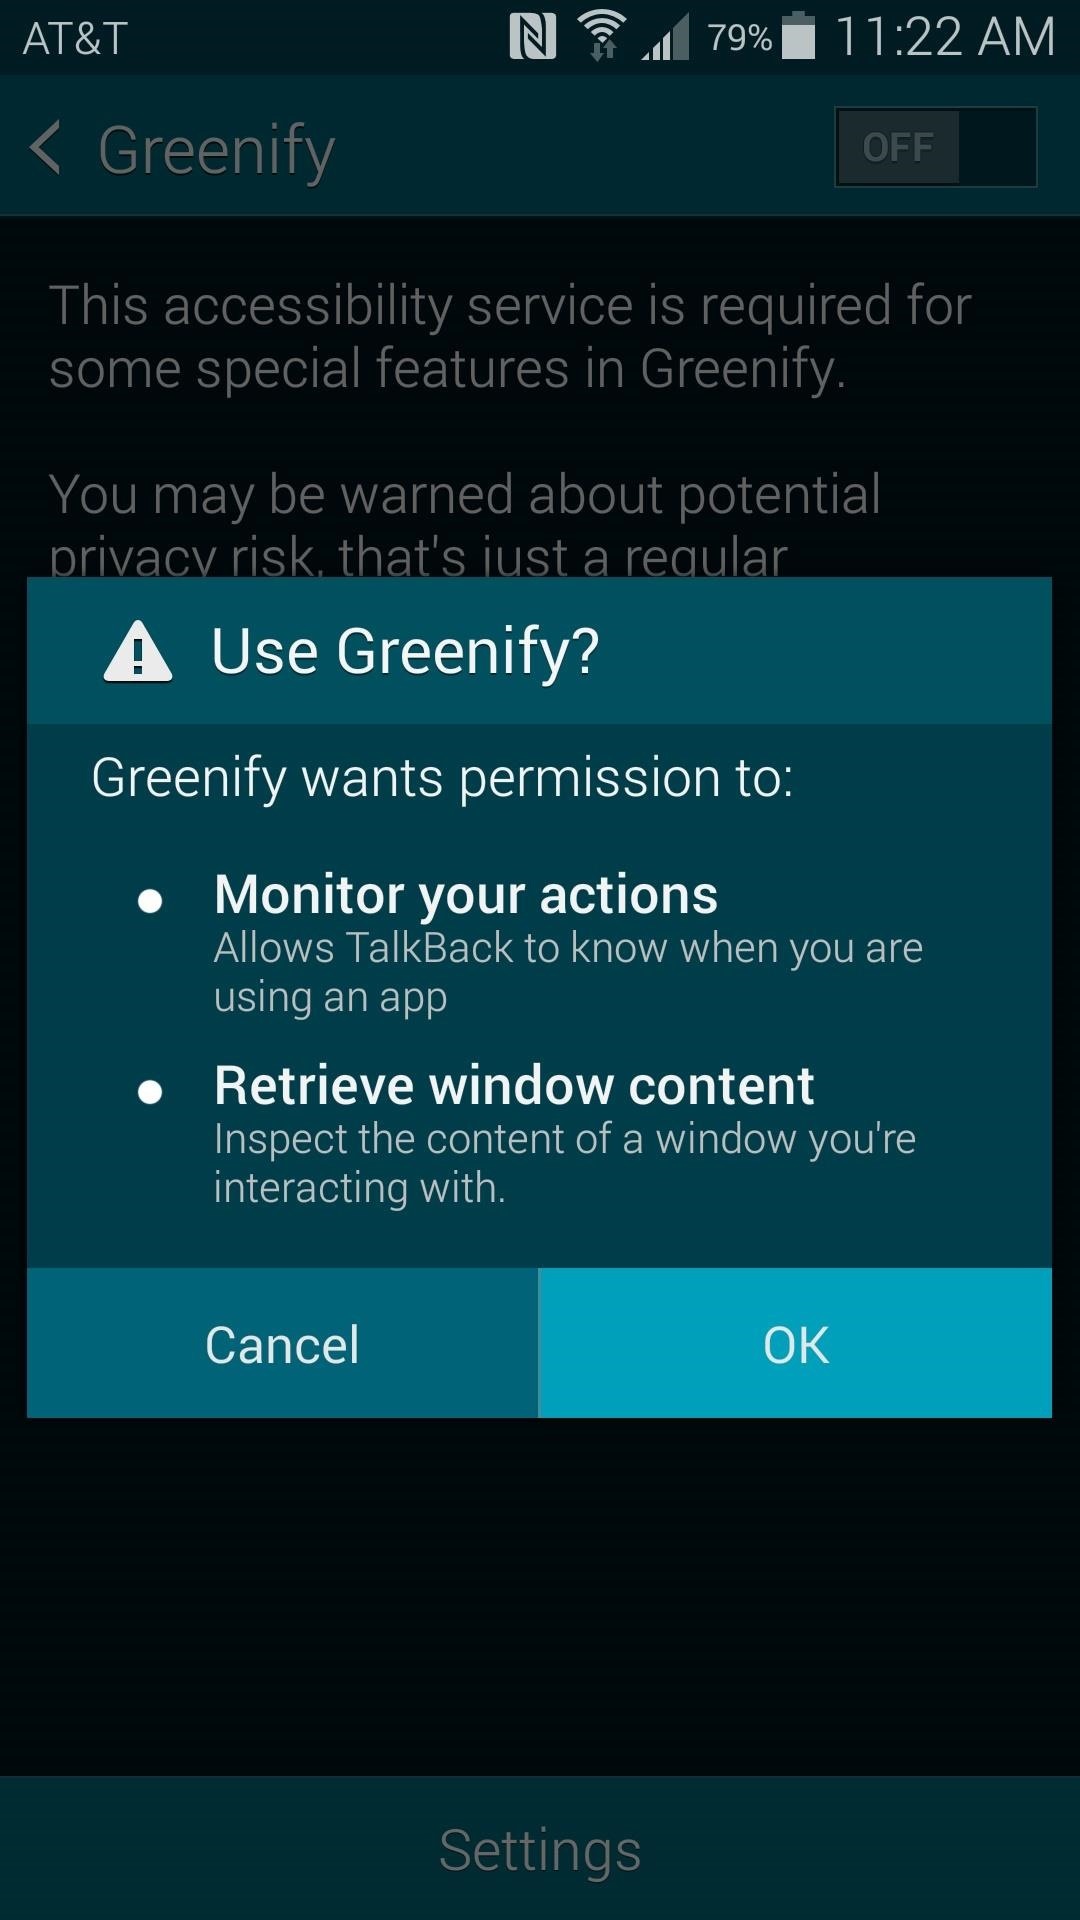
As the message says, the next series of events can be automated if you enable Greenify's accessibility service. So tap Enable Automation, then on the next screen, select the Greenify entry. From here, toggle the switch at the top of the screen to On, then press Okay on the popup.

With that out of the way, back out to Greenify again, as there is one more setting that needs to be enabled.
Step 4: Enable Automated Hibernation
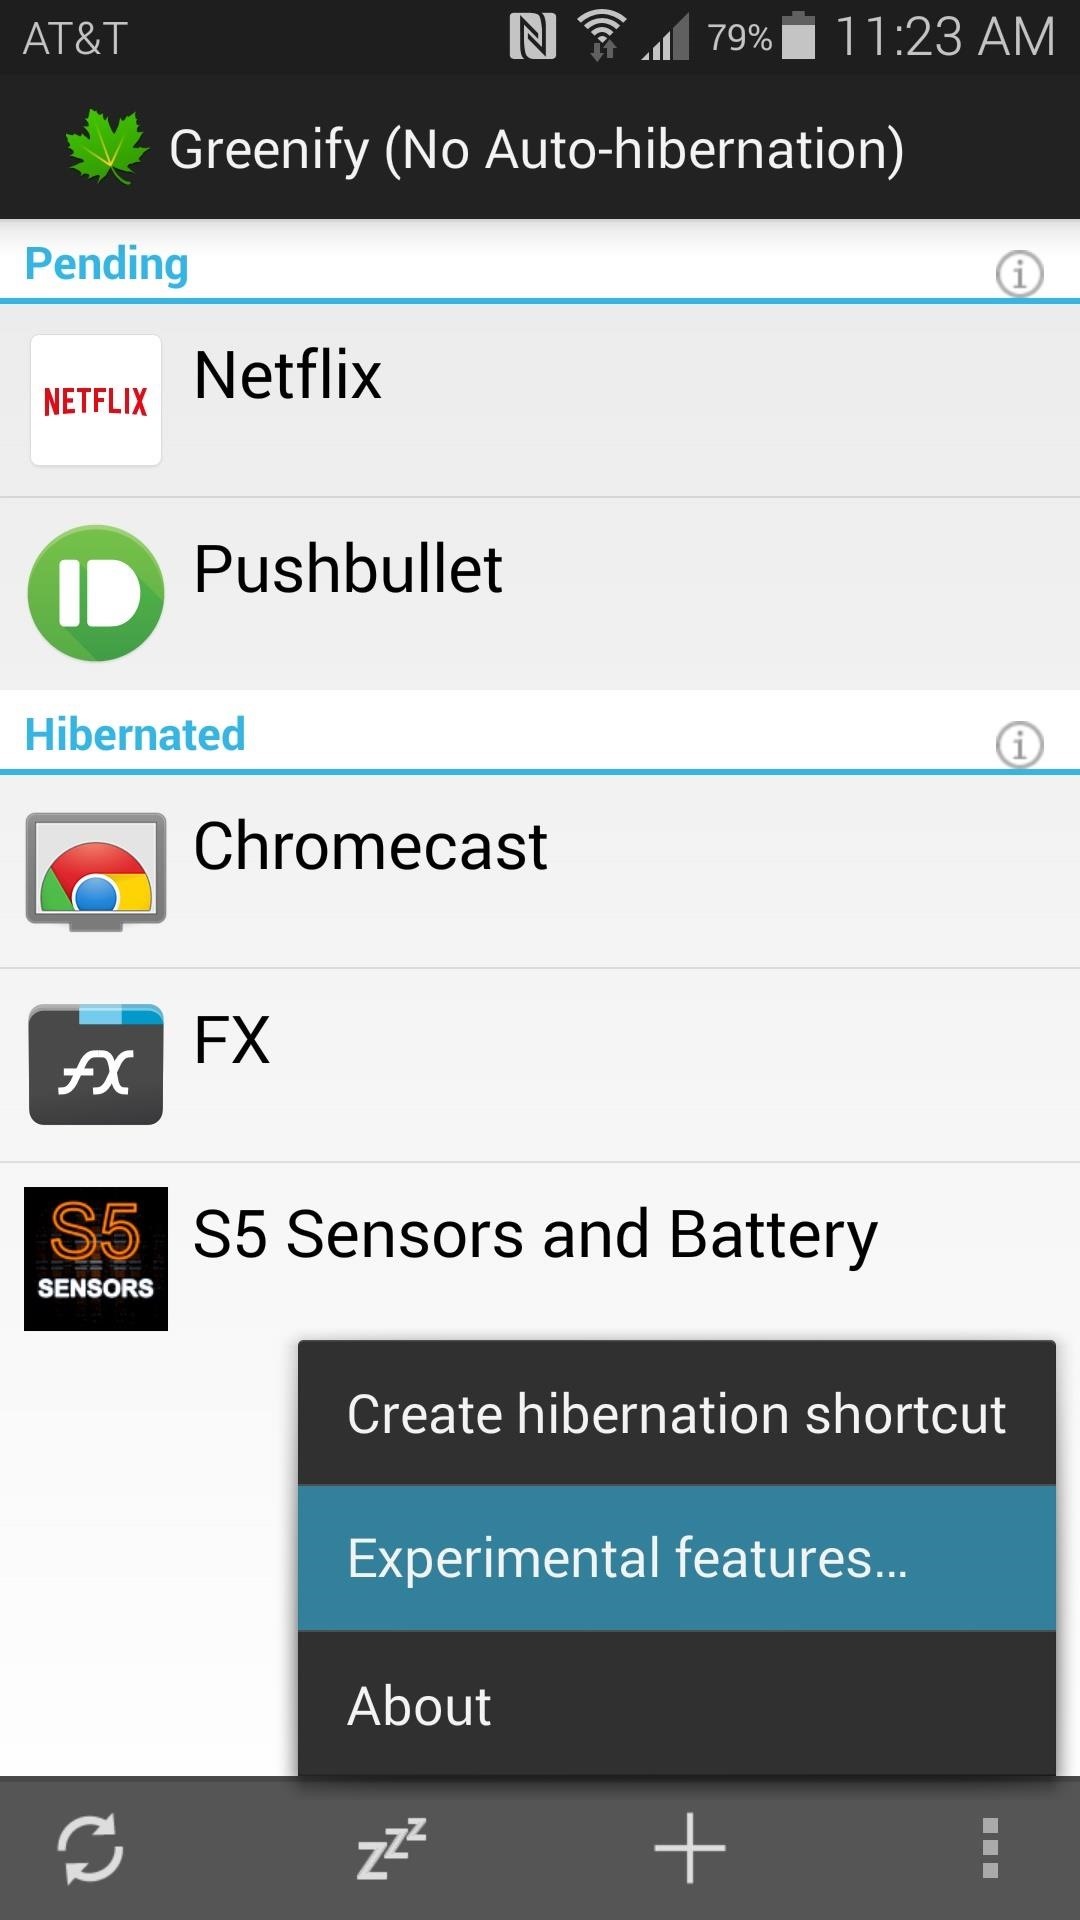
Now, from Greenify's main screen, tap the three-dot menu button and select Experimental Features.
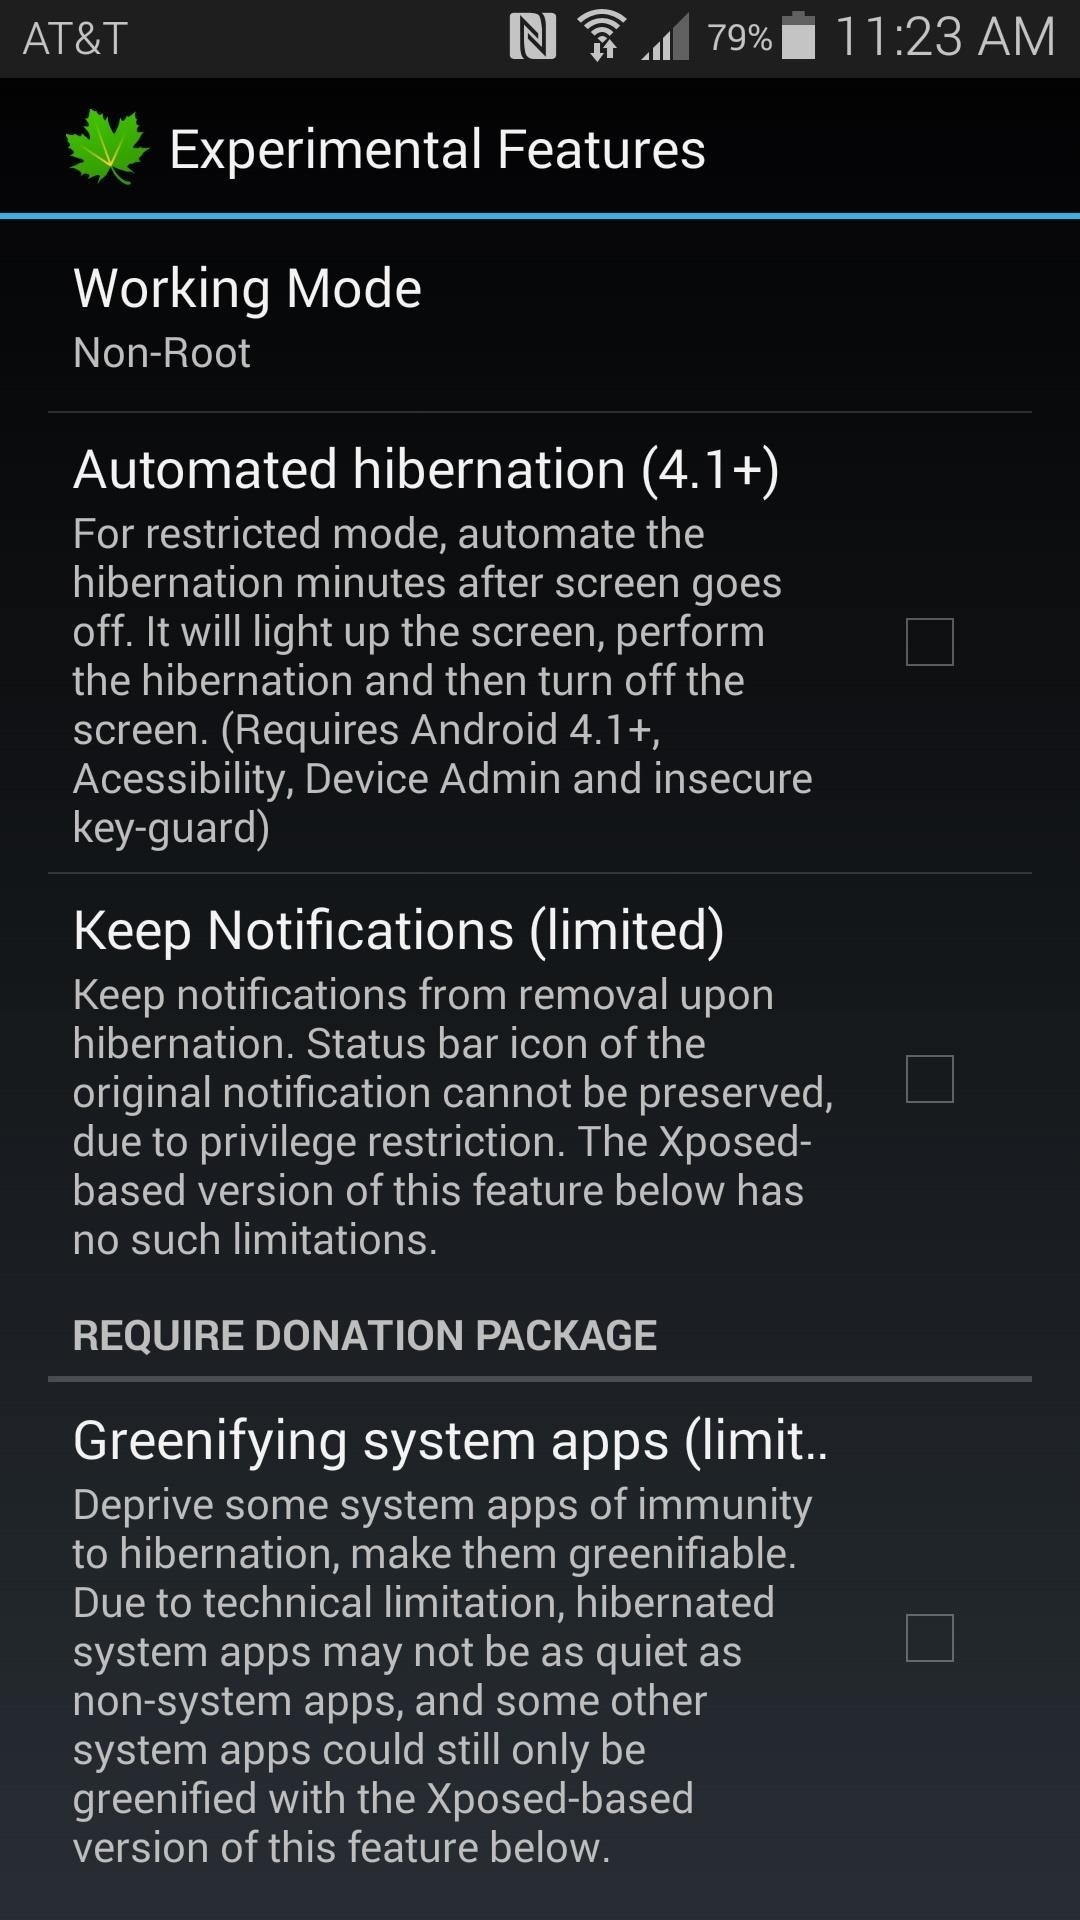
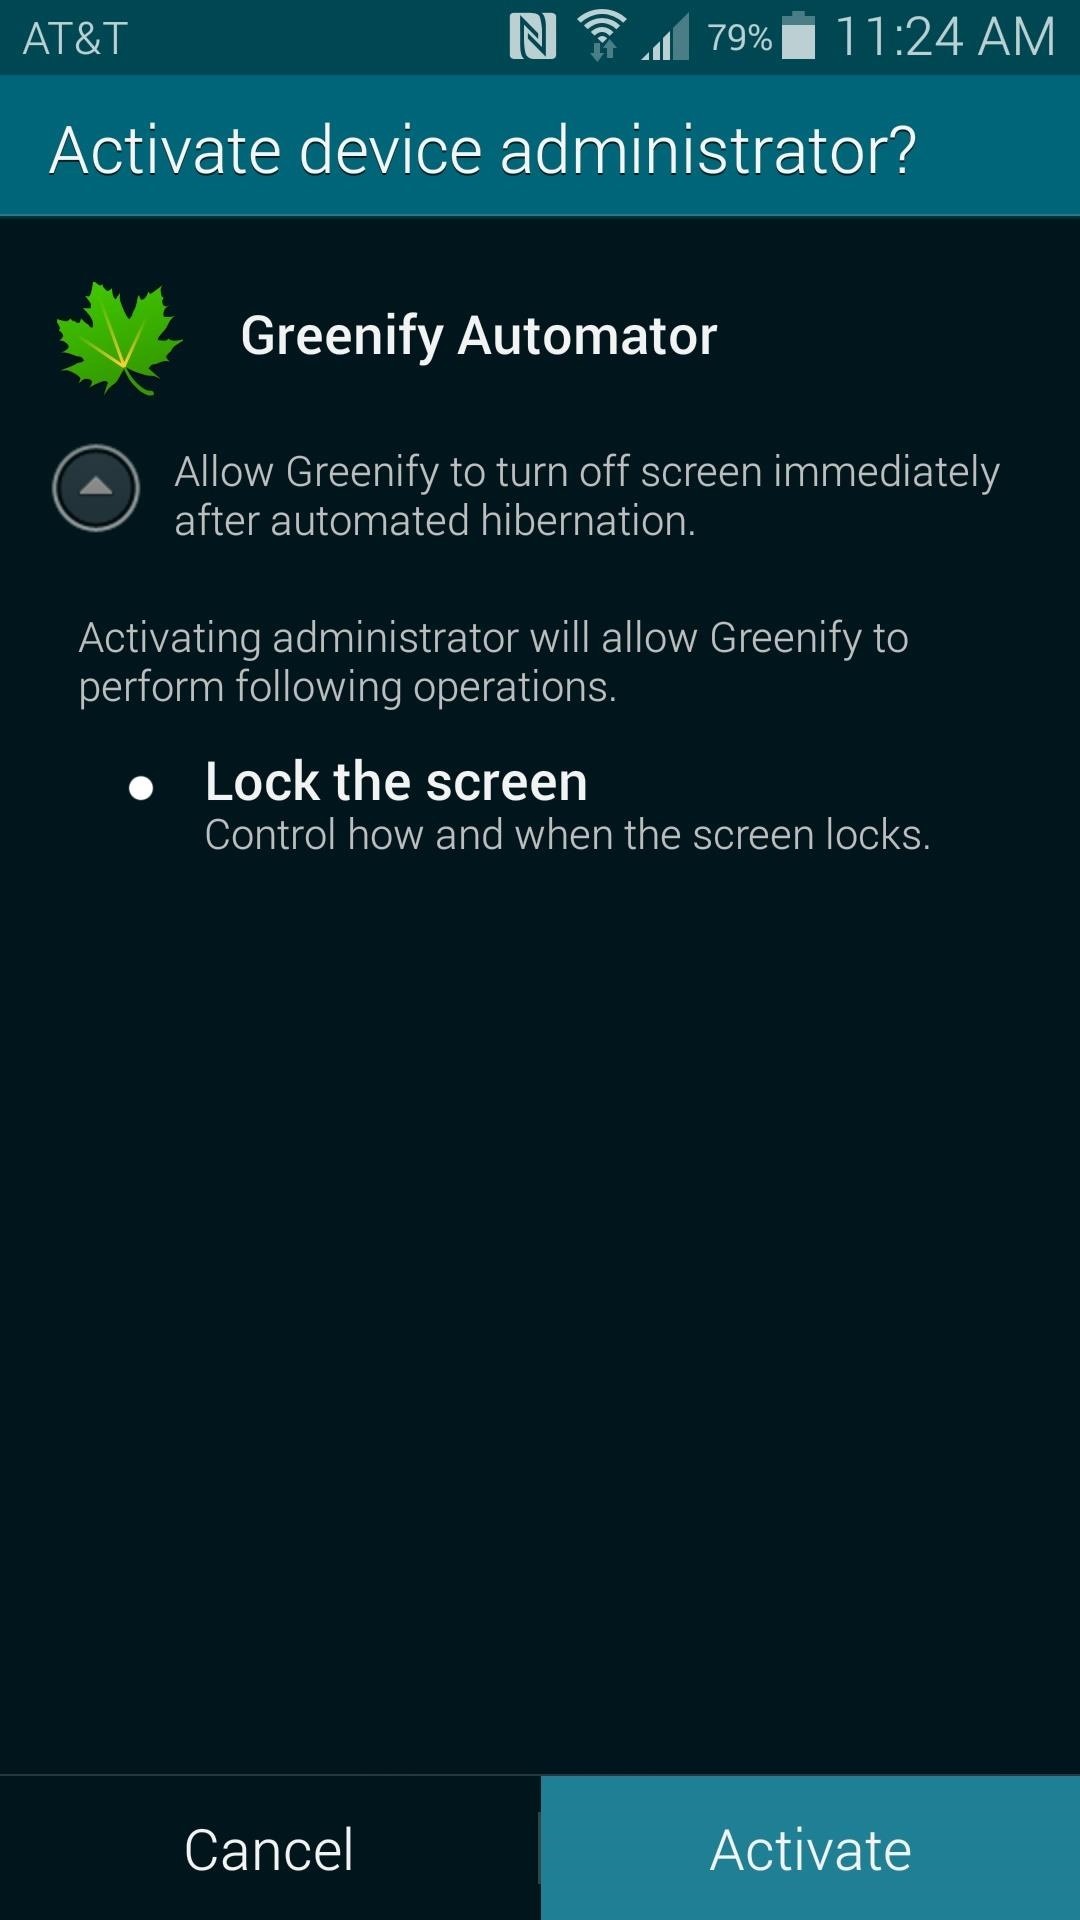
From here, tap the entry for Automated hibernation, then press Activate on the screen that shows up next.
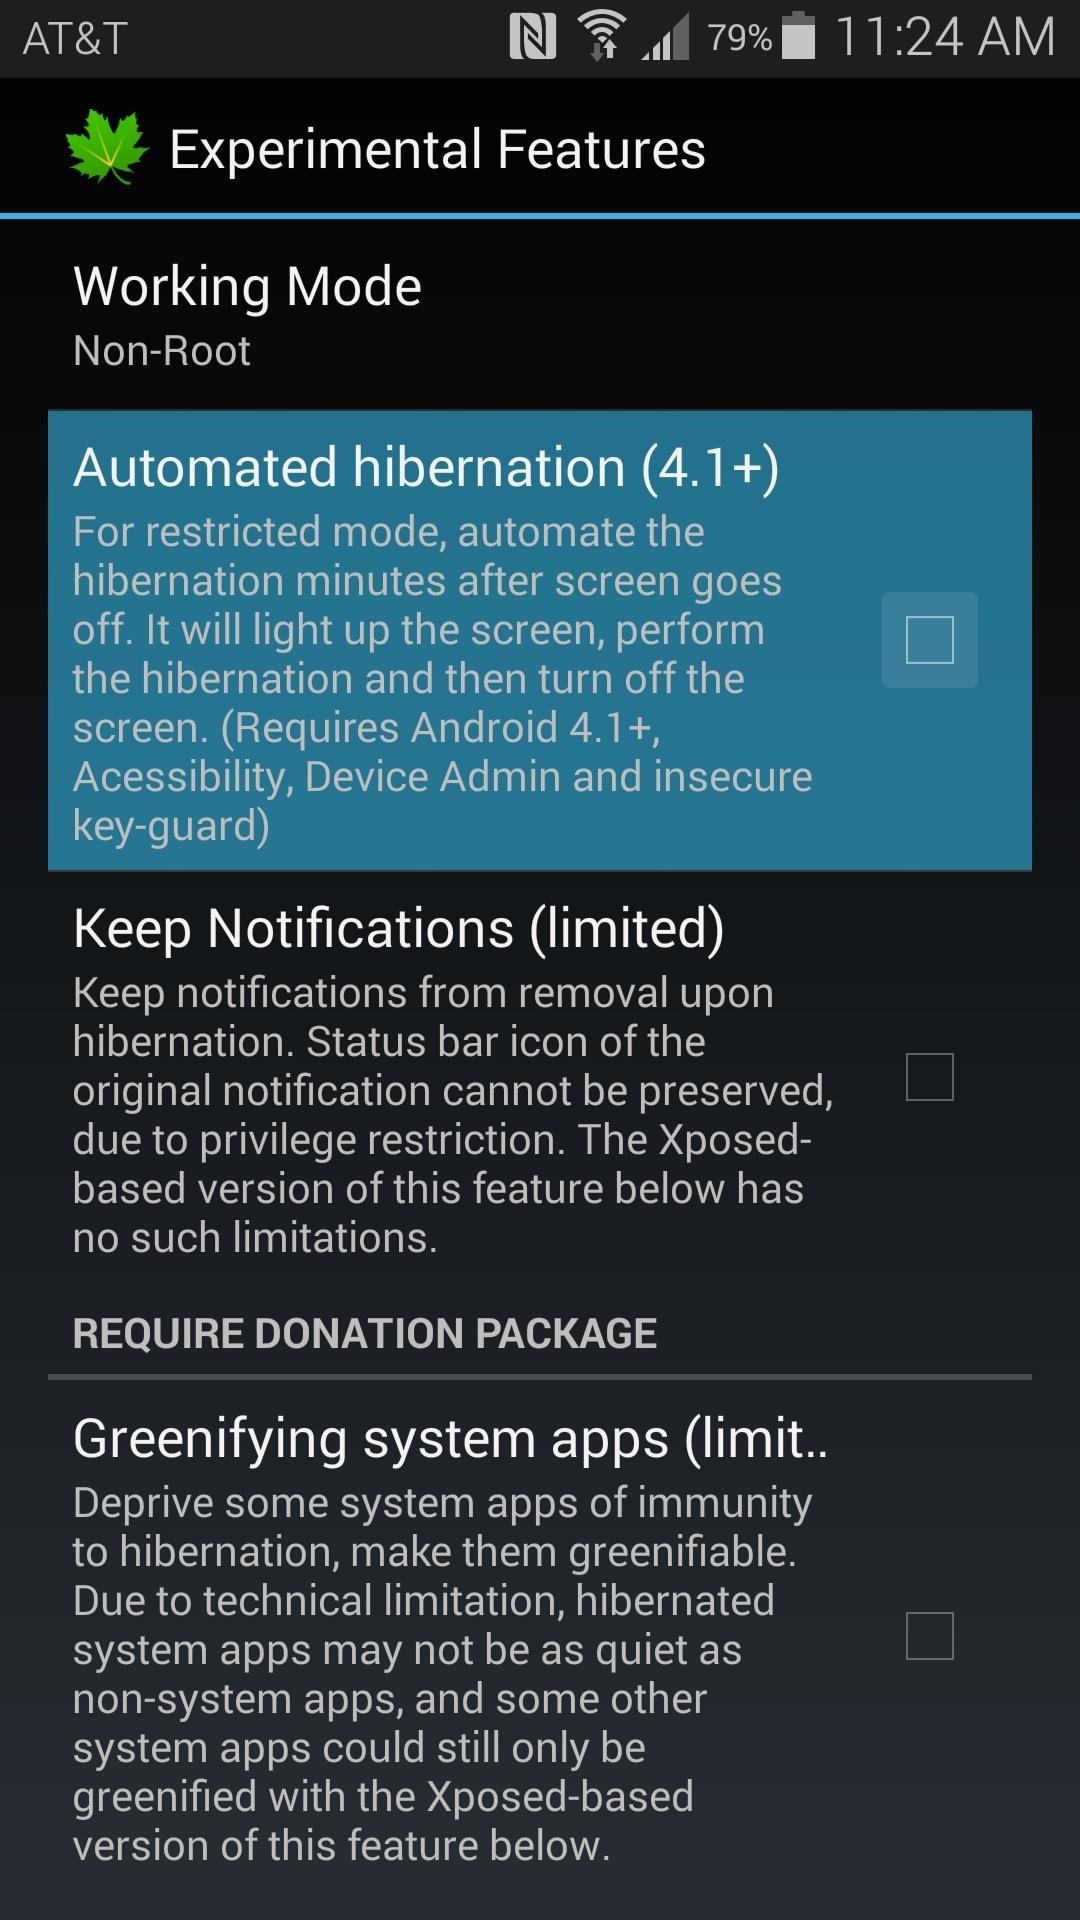
At this point, you'll be taken back out to the Experimental Features page, where you should tick the box next to Automated hibernation now.

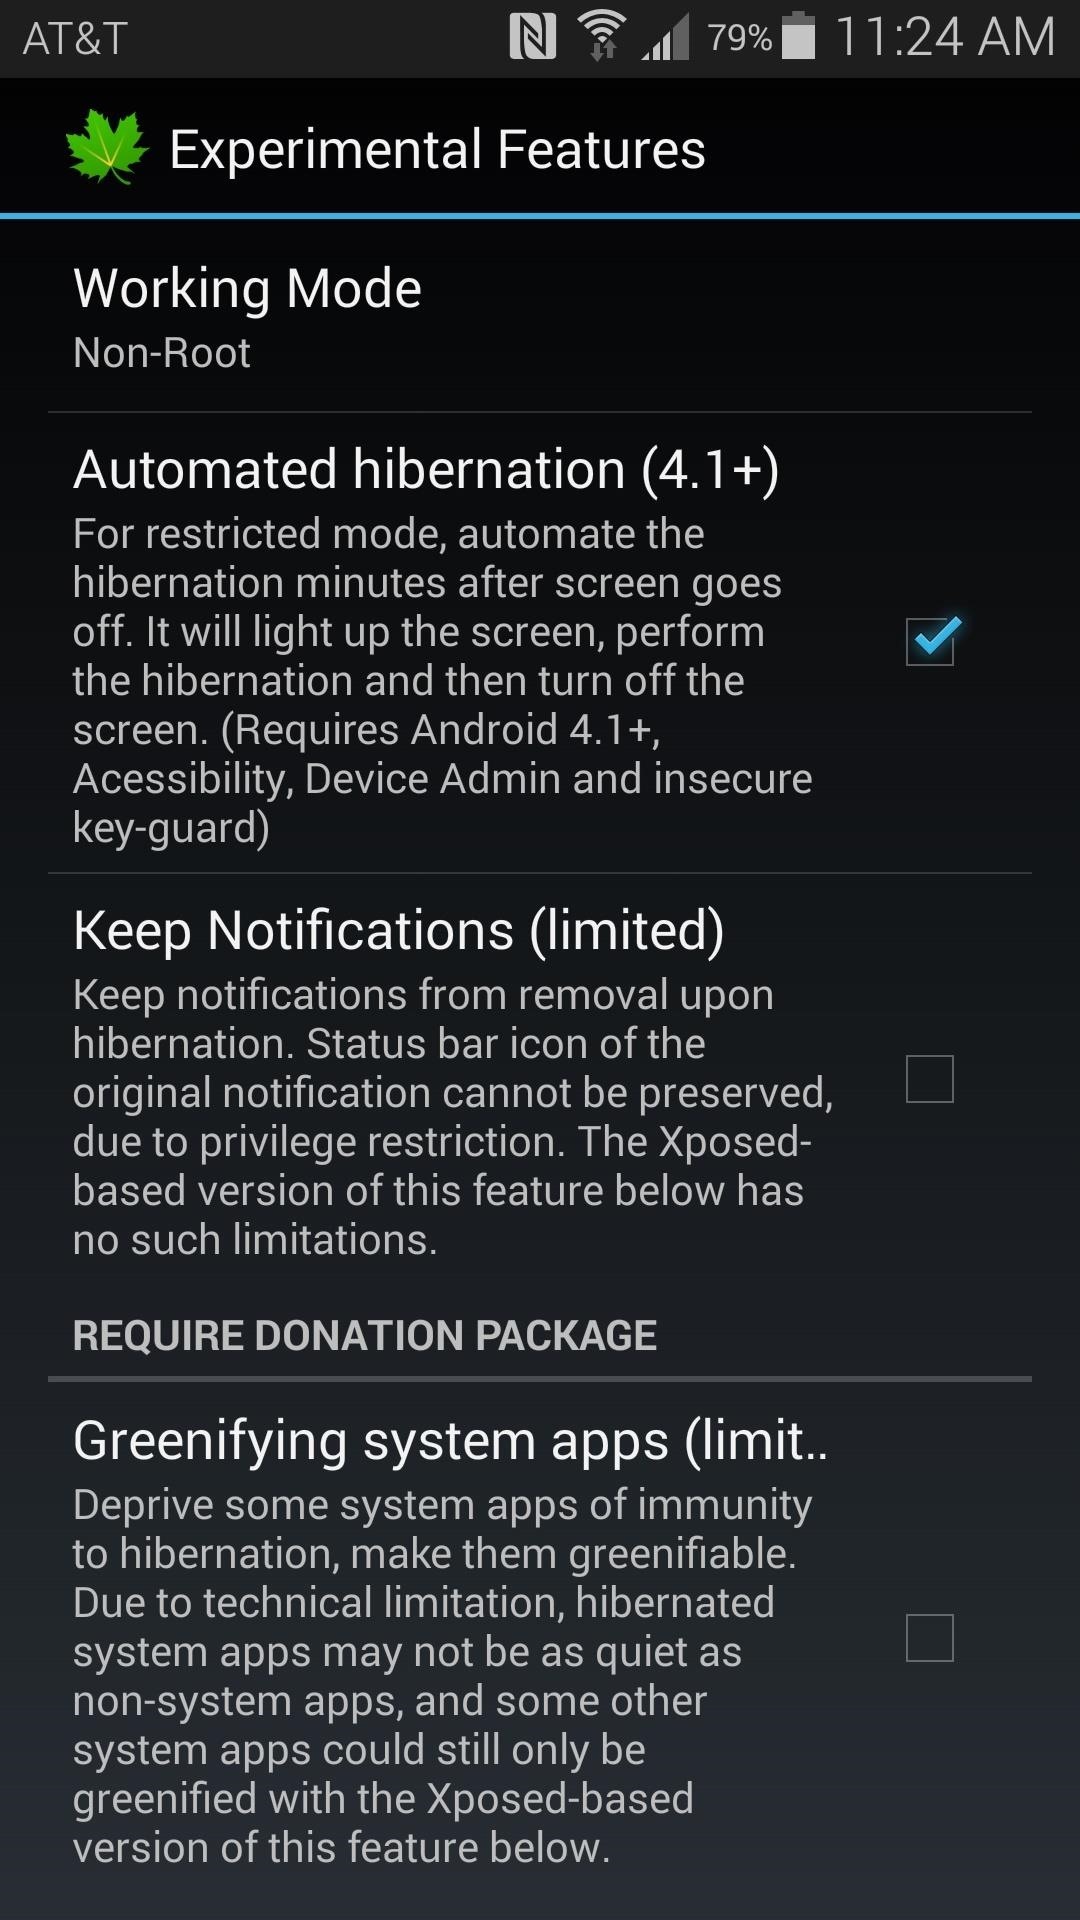
Now, automated hibernation is all set up on your device. You can practically forget that you have Greenify installed, since it will continue to ensure that your selected apps stay hibernated.
Greenify will only hibernate these apps when your screen is off, so it doesn't interfere with your day-to-day usage. The screen comes on briefly when it's time to hibernate apps, then Greenify does its thing and the screen goes right back off.
How much battery life have you saved using Greenify? Let us know in the comments section below, as well as on Facebook and Twitter.
Just updated your iPhone? You'll find new emoji, enhanced security, podcast transcripts, Apple Cash virtual numbers, and other useful features. There are even new additions hidden within Safari. Find out what's new and changed on your iPhone with the iOS 17.4 update.


Be the First to Comment
Share Your Thoughts